To ensure the safety of your precious digital assets, adopting multiple backup strategies is wise. In this article, we explore some of the top methods for backing up your Mac, including Time Machine and various third-party applications.
Many prefer using an external hard drive as a tangible solution for storing, protecting, and sharing digital files. We’ll guide you through the process of backing up your Mac to an external hard drive. It’s important to note that the screenshots provided are from macOS High Sierra. While there may be minor differences if you’re using an older version of macOS, the overall procedure remains the same.

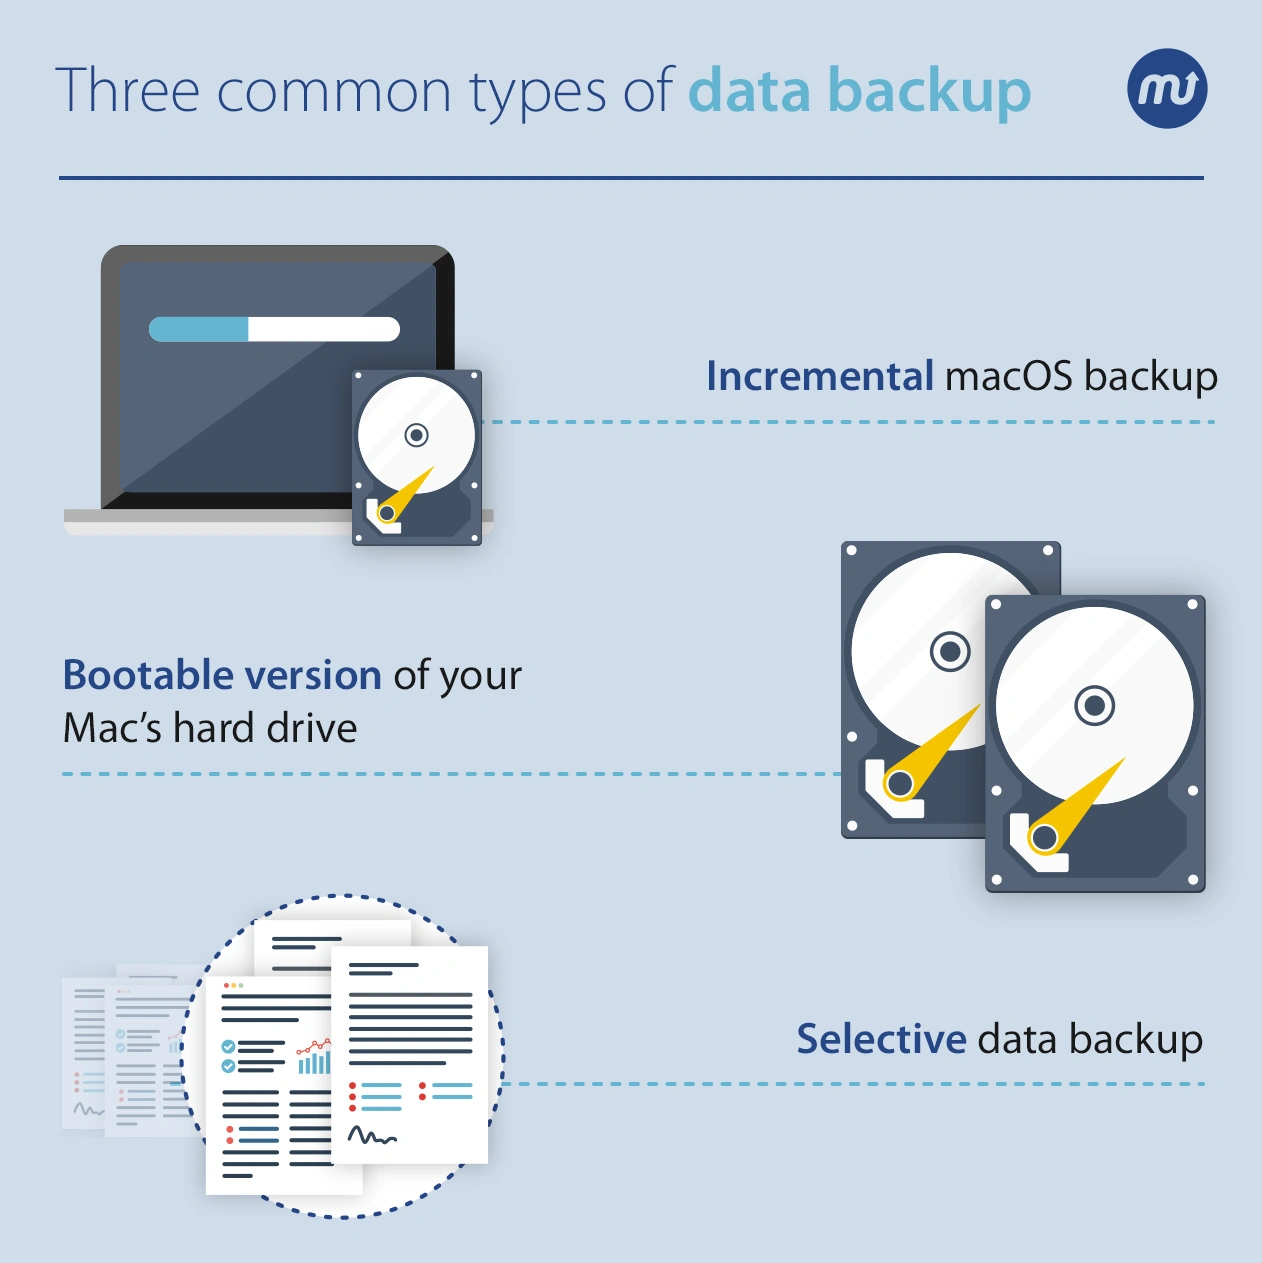
Generally, there are three common types of data backup:
- Incremental macOS backup: your Mac system along with all its data is backed-up.
- Bootable version of your Mac’s hard drive: you create a clone of your Mac’s hard drive.
- Selective data backup: you select only some folders or files that you wish to backup.
How to Use Time Machine to Backup Your Mac to an External Hard Drive
Time Machine stands as the go-to solution for incremental backups on macOS, seamlessly integrated into your computer. This powerful feature allows you to effortlessly back up your data to an external hard drive via USB, Firewire, or Thunderbolt connections directly on your Mac. Additionally, it supports backing up through a USB port on an AirPort Extreme Base Station within your network, or even to a supported network drive like Time Capsule.
Upon configuring Time Machine on your Mac, it diligently performs backups hourly, daily, and weekly, ensuring your data is always up to date. Importantly, should your disk space ever become fully utilized, Time Machine intelligently deletes the oldest backups to accommodate new ones, maintaining a balance between space and data preservation. The beauty of Time Machine lies in its automation, eliminating the need for manual intervention. In essence, Time Machine offers a seamless, automatic, and reliable backup solution, making it an excellent choice for safeguarding your Mac’s data.
Before we get started with the Time Machine backup process, consider these two prerequisites:
1) Ensure that both your Mac and your external hard drive have enough space: To review your Mac’s storage information, click on the Apple menu located at the top-left corner of your screen. Select “About This Mac,” then click on “Storage.” It’s advisable to utilize a drive with a capacity at least double that of your Mac’s storage.
2) Ensure that your external hard drive is pre-formatted for your Mac: Before beginning, it’s crucial to ensure that the external hard drive you plan to use is pre-formatted for Mac, as not all are. Should the drive be incompatible with your computer, you will need to format it. Please note, formatting the drive will permanently delete any existing files stored on it.
- Connect your hard drive to your computer.
- Type Disk Utility in Spotlight and hit it to launch.
- Specify the hard drive you want to reformat: you can see all of your Mac’s drives and volumes in Disk Utility, so it’s crucial to select the proper one.
- Erase the drive by hitting Erase, confirm your intention and rename your drive.
- Specify the new map scheme: select the most appropriate format for you: Extended (Journaled), Extended (Journaled, Encrypted), as well as Extended (Case-sensitive, Journaled), and others. The macOS Extended (Journaled) format uses Journaled HFS Plus to keep all your data organized. Consider the Encrypted option for more security as it adds a password and encryption. The Case-sensitive option differentiates folders with upper/lowercase letters ( for instance, “May” and “may” are not the same).
- Open Security Options, ensuring that the drive is set to write over any past data at least three times (for SATA drives, not SSDs).
- Erase and finally confirm. That’s it!
Now, let’s backup your computer using Time Machine:
- Connect an external hard drive directly to your Mac. Note: you might be asked whether you wish to use the drive to backup with Time Machine, so confirm that.
- Select Encrypt Backup Disk (recommended), then choose Use as Backup Disk.
- Launch Time Machine: enter Time Machine in Spotlight, then set it up.

- Click the padlock icon and type in your user password, then tick Back Up Automatically.
- Click Select Backup Disk and find the disk for the backups to be stored. Note that it’s possible to create separate backup disks to be used at home or in the office.

- Click Options. By the way, in case you want to exclude some folders from the backup, click the ‘+’ , determine the folders you want to exclude and finally hit Exclude.
- Click Save. Before closing System Preferences, ensure the “Show Time Machine in menu bar” box is selected. Now you will notice that once Time Machine is running, you will get alerts if any problems occur, meaning that you will be able to instantly recover files.
Note: Your initial backup might require some time, contingent upon the volume of documents you possess. However, rest assured, you can continue using your Mac throughout the backup procedure.
Afterwards, you’ll be able to restore both the entire system and individual files from your Time Machine backup. To restore everything, use the Restore from Time Machine Backup utility in macOS Recovery.

The restoring disk gets erased before retrieving macOS and your other Time Machine backup items. You can use Migration Assistant if you need to make a copy of your files, settings, and user accounts.
To restore particular items, find their primary location. (For instance, to restore the particular email, open your Mail app). Launch Time Machine, find the needed email and hit Restore.
Note that to restore files from encrypted Time Machine backups, you need to enter your backup password.
Time Machine Alternatives: How To Backup Mac Files To An External Hard Drive
Time Machine is a great backup app, however, sometimes using only Time Machine might not be enough. It’s always smart to have a plan B if something bad happens. Why not create an exact duplicate of your entire system? In that way, you have peace of mind that all of your Mac’s files are stored elsewhere and you can boot from your backup in an instant. This ensures that you will be able to work even if your Mac is facing startup issues.
Cloning software
Thankfully, a wide array of cloning software solutions is available, offering peace of mind with their focus on safety and security for your sensitive data. For those interested in exploring such options, consider reading reviews on Super Duper or Carbon Copy Cloner.
After selecting your preferred software, downloading and launching the application is straightforward. These apps are designed to be user-friendly, ensuring a seamless experience as you navigate through the cloning process.
For those looking to backup only specific data, utilizing external hard drives or cloud storage presents an effective solution. This approach allows for selective data preservation, tailoring your backup to meet your needs.
External off-line hard drives for selected files
Note: This method is notably outdated due to its manual nature, making it appropriate solely for a single-use backup without synchronization for updates or changes. Therefore, it should be considered only as a one-time solution for files and folders that are stable and not expected to undergo additions or modifications.
To upload your important files to an external hard drive, follow these simple steps:
- Connect your Mac to the external hard drive.
- Ensure the external hard drive is Mac-compatible and has enough space to keep your data.
- Drag and drop or copy and paste your files to the drive.
- Securely disconnect the external hard drive.
External online hard drives for selected files
There are numerous online cloud storage solutions (sometimes just called “the cloud”) on offer, not to mention iCloud, Google Drive or Dropbox. Uploading your data to the cloud is not difficult. To upload your sensitive files to an online cloud storage solution, follow these simple steps:
- Choose the service. Typically, you will need to pay monthly fees if you need more than 5GB of storage, so make sure to check this out before selecting the preferable service. Once selected, create and verify your account.
- Choose which files you wish to keep in the cloud and either drag and drop them there or upload them to the online service.
The Bottom Line
For complete peace of mind regarding your sensitive data, it’s wise to employ a minimum of three backup strategies: Mac Time Machine, cloning software, and a secure cloud storage service. Share with us in the comments your preferred methods for ensuring your data remains safe and well-protected!