Parallels Desktop offers a virtualization solution for MacBooks, allowing users to seamlessly operate Windows or any other operating system within their Mac environment. Should you find yourself not needing Parallels Desktop anymore, our guide delivers detailed instructions on how to uninstall the software completely, ensuring all its components are thoroughly removed.
Step 1: Uninstalling Parallels Desktop Application
Navigate to the Parallels Control Center to view the virtual machines that you are running.

If you possess any running machines, it’s crucial to ensure they are completely shut down..
To accomplish this, select any running machine. Then, proceed to the Actions tool located on the top toolbar and choose “Shut Down.”

Once all machines are shut down, it is safe to start uninstalling Parallels desktop.
Navigate to Parallels Desktop from the toolbar and click on “Quit Parallels Desktop”

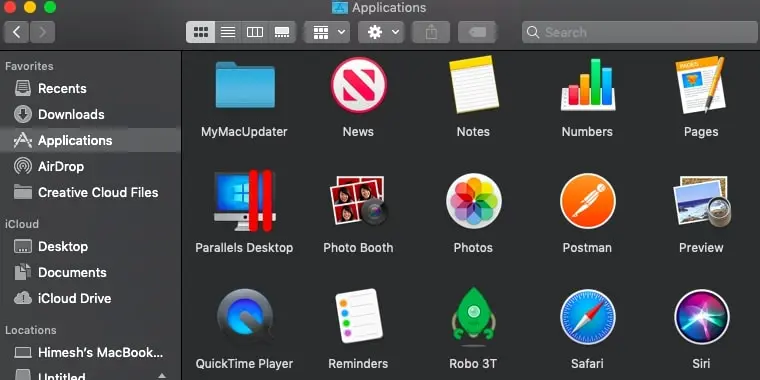
Once you quit the application, navigate to the Applications folder.

Right-click on Parallels Desktop and select “Move to Trash”

Should a dialog box emerge requesting a password, kindly enter it..
Navigate to the Trash, right-click on the Parallels Desktop icon, and choose “Delete Immediately.”.

Step 2: Delete Parallels Desktop Virtual Machines
Now the application is completely removed from the system.
Regrettably, uninstalling the Parallels Desktop application does not automatically eliminate the virtual machines you’ve installed. These virtual machines will continue to occupy a substantial amount of your storage unless you delete them manually.
Parallels virtual machines are created with the .pvm extension. Therefore follow the steps below if you would like to search for the files with the .pvm extension,
Hit command + space together to bring up Spotlight Search.
Type .pvm on the search bar.

All your .pvm files will be listed here.
Now that you know what .pvm files are remaining in your system, let’s go ahead and open Finder to find these items.

Right-click on the .pvm file and select Move to Trash
Go to Trash
Right-click on the .pvm file and click on Delete Immediately.

Repeat the process for all the .pvm files that you have on your Mac. This process will delete all the virtual machines and will save a significant amount of storage in your Macbook.
Step 3: Deleting application icons and folders for virtual machines
Removing the application and deleting the virtual machines will not completely uninstall all the elements left behind by the Parallels Desktop application.
Let’s look at what other files and folders that we should delete to ensure complete uninstallation of the application.
Let’s switch to the Terminal to get rid of all these.
Open Spotlight Search by pressing command and space together.
Search for Terminal and click on it.

Navigate to the User folder by typing the following command.
cd /user/(your username)
To fully uninstall the applications of the virtual machine, locate and delete the “Applications (Parallels)” folder..
To remove this folder, type the following command on the terminal.
rm -R Applications\ \(Parallels\)
Navigate to the Applications folder by typing the following command
cd /user/(your username)/Applications
Here you will find another application under the name “Windows 10 Applications.app” To remove this folder, type the following command on the terminal
rm -R Windows\ 10\ Applications.app/
Now that we removed these two files, let’s navigate to the Library folder to remove another file.
For this, you would require administrator access. To gain administrator access type the following command:
sudo su
Enter the password for your administrator account.
Navigate to the Library folder by typing the following link in the command:
cd /Library
Type the following command to remove the Parallels folder in the Library:
rm -R Parallels/
Type exit on the command line to exit from your administrator account.
By following these steps, we have been able to completely remove Parallels and its folders from the device.
Keep in mind that the names of the folders specific to the operating system may vary depending on the virtual machine you have installed..
